
Are you a nutella addict? do you have a nutella addict friend? if the answer to any of these questions is yes, please keep reading. If the answer is no, well, you wanna keep reading anyway, because nutella cake is not something you want to miss.
I've had two french roommates addicted to nutella. They would eat it every single day for breakfast. No matter if they woke up at 3 pm, completely hangover, or if there were pancakes or muffins in the kitchen. Breakfast was synonym of nutella. Now I have my friend S, who doesn't eat it compulsively, but drools just by seeing the jars in the supermarket. So her birthday cake was easy to guess. Nutella cake with strawberries and cream.

I could've totally gone with just the nutella. But I've made this cake before and as good as it is, it's very dense. I thought some fresh strawberries and airy cream would make it a little lighter. Plus the cream serves as frosting for the cake. Per-fect.
Now, before we talk cake! I finally got around making my 'To bake list', which is 100 desserts/baked goods I wanted to make at some point. Some of them have been done recently but there's more than 90 to go. And... I have a proposal! what about you use the comments section and or my formspring (which is here in the main page) and tell me which ones you'd like me to bake first? I'm thinking about hosting a giveaway among those of you who respond.
Ok. Cake time!!! The cake recipe comes from Nigella Lawson. And let me warn you know before you start screaming. It has lots of fat. She adds ganache as topping and hazelnuts in the batter, I omitted both and also used dark chocolate instead of semi-sweet. My adapted recipe is as follows:
6 large eggs, separated
pinch salt
1/2 cup unsalted butter, softened
1 13-ounce container Nutella
4 ounces bittersweet chocolate (60%) , melted and cooled
For garnish:
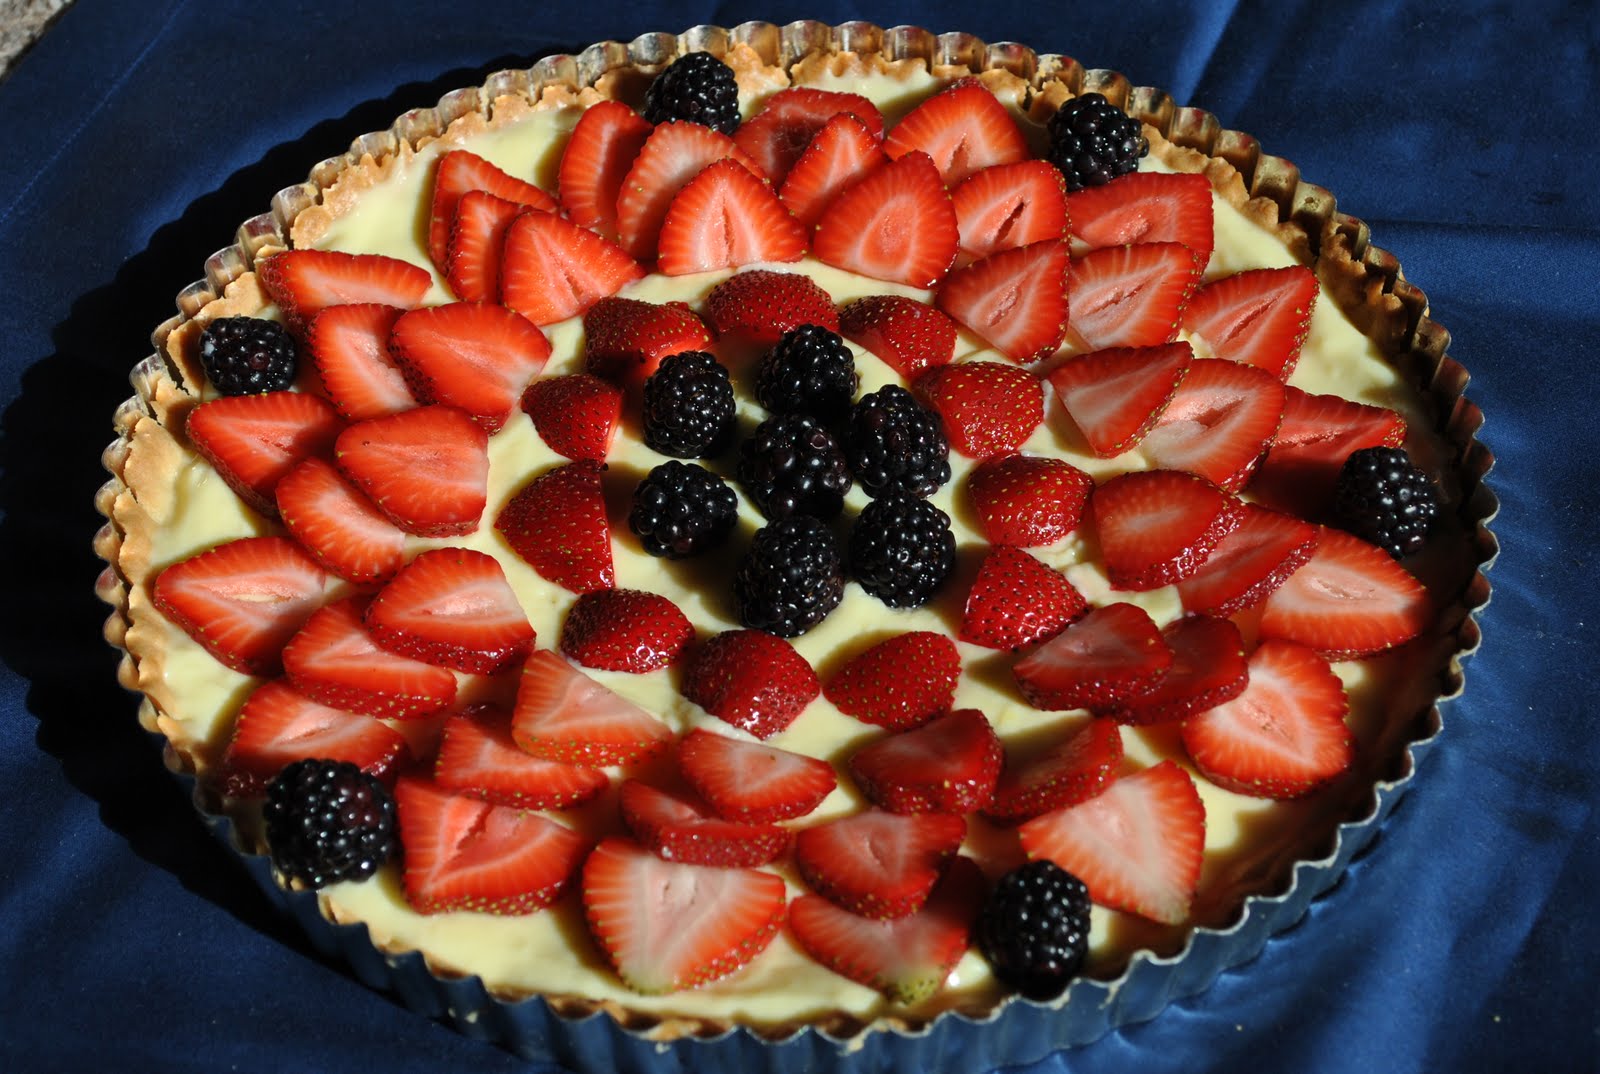
strawberries
2 cups whipping cream
Preheat oven to 350 F
In a bowl, beat together the nutella, the butter and the egg yolks until well mixed. In a separate bowl whisk the egg whites with the pinch of salt until stiff. To the nutella batter, add the melted chocolate and mix it in. Add a quarter of the egg whites to the batter and mix well. Then add the rest of the whites, slowly folding them in with a spatula. Try not to deflate them. Pour the batter in a cake pan and bake for about 40 minutes or until the cake separates from the sides of the pan. Let it cool completely.
Slice the cake in half and place the strawberries in the middle so you cover the surface. I used about half pint of strawberries. In a bowl, beat the cream until whipped and cover the strawberries with part of it. Then cover with the other half of the cake and frost the entire cake with the cream.
Refrigerate to cool the cream. Cut. Devour. Enjoy!